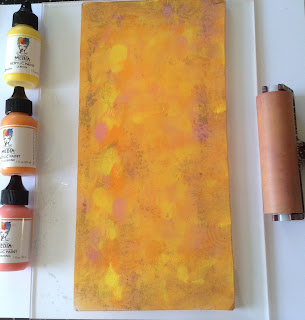
I started by choosing several acrylic paint colours - I used Dina Wakely paints by Ranger - and brayered them across my Gelli plate. The next step was to layer some stencils across the paint and pull off a print leaving the stencils in place. I then removed the stencils and allowed this to dry.
Once dry, I added more paints and brayered a couple of different colours sparingly in different places on the gelli plate. Then, I took some Claudine Helmuth foam stamps and stamped into the wet paint and left this to dry. You do need to be patient between layers.
Once the stamped images were dry, I overstamped again, but this time using the Pigment ink pads. And again, I let this dry. Don't be tempted to use a heat gun. It dries the gelli plate too fiercely.
Here I've used a couple of Indigo Blu dinkie stamps and one of Kate Crane's stamps from one of her Carabelle stamp sets. The next step, once these images have dried, is to lightly paint over the whole thing with a light coloured paint. I use either White, light/pale pink or blue. All work well for this technique. I got this idea from a class with the lovely Kate Crane.
As you can see I have brayered a very thin layer of paint across the plate. You can still see the pigment stamped images through it. I then quickly pulled my print. It wasn't perfect, but I love the distressed result. I even managed another print!
This now ready for die-cutting a couple of tags from or I might use this one for ATCs. I hope you'll have a go at this technique too, although there is a lot of waiting around for the layers to dry. Have a look at You Tube for more ideas. This is mainly where I got my ideas from. I will post another technique tomorrow using pigment ink pads on the gelli plate. I hope you can drop by!


Thank you Chris for this great step-by-step playing with the gelplate!!!
ReplyDeleteI love all the layers, and you way of creating depth and beautiful masterboards ready to be used for ATCs or cards... Will try your technique (not done yet with all these steps)
And I still hope to join you one day in your great mini marvels group! But Life is just too complicated this year again, to fulfill all my commitments and at the same time take care of my family.
Hugs, Coco xxx
Yes i am totally agreed with this article and i just want say that this article is very nice and very informative article.I will make sure to be reading your blog more. You made a good point but I can't help but wonder, what about the other side? !!!!!!Thanks nagapoker
ReplyDelete