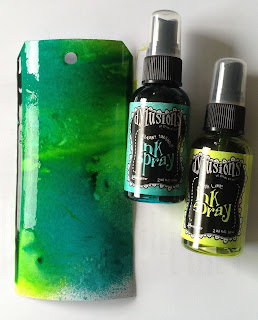
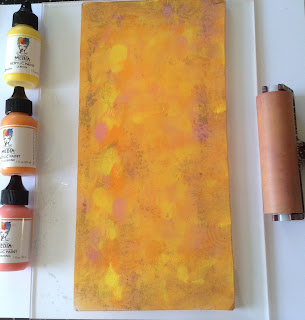
Hi everyone. Thankyou so much for joining me over here for a visual journey through the first technique. Fortunately, and probably because, I recently showed this technique to one of my Grandfairies who just loves creating art and thought what fun it would be to show her a variety of art techniques to help relax her while preparing for and during her fast approaching SAT tests. Not a big leap then to suggesting this for a new challenge in my Mini Marvels group. I love learning new techniques and revisiting old ones! I was reaquainted with this technique during a recent class with the uber-talented and very lovely, Tracy Evans. I hope you enjoy it too.
For this technique you will need:
-shaving foam (not gel),
-a tin foil dish to squirt the shaving foam into,
-card stock or ready made Tags
-either paints,food colouring or reinkers - I've used Distress dye ink reinkers with my granddaughter here,(Tracy used the Distress Oxides reinkers) -
-a ruler,
-a heat gun.
1. The Shaving Foam technique
I am cutting my own tags, using PaperArtsy 340gms Smoothy card stock. I love this card and generally use it for all of my mixed media techniques, but you use your own preferred card. Just ensure it will withstand wet media. I cut 12 tags using Ranger's Tim Holtz Thinlets Tag dies. I've used the largest one for mine. However, there is no rule as to which size tag you should make. Circle tags would be fun too. Now for the fun part. Hopefully the photos will do a lot of the explaining!

I
Having squirted a really good amount of shaving foam into the foil dish, add drops of either paint, food colouring or reinkers onto the surface of the shaving foam. Add as many colours as you like. Now, using a cocktail stick or coffee stirrer, mix through the colours carefully making swirling patterns.
As Imogen has done here, lay your tag onto the surface of the swirly coloured foam and press it down quite firmly to allow it to absorb the colours you have added. It's a bit messy but smells heavenly!
Gently lift the tag from the foam surface. It will pull up a lot of the foam with it but not to worry. Lay this gloopy tag down on your surface and then take a ruler to slide all of the foam completely off the card. You can discard this foam or pop it to one side to use it again later. You should still have plenty left in your foil dish.
Imogen is demonstrating this step beautifully isn't she? You really should gasp at the resulting pattern you will see left on your tag. The next step is to use your heat tool to gently waft over the tag. The colours will appear a little brighter depending on which colour agent you use. This didn't happen when I used PaperArtsy Fresco chalk paints but the colours definitely brightened when I used the Distress Oxides reinkers. You will also need to use a paper towel after drying to thoroughly remove any oily residue from the Oxides. Make as many tags, using various colours to vary the backgrounds you create, as you like. Play around with different media!
And this was what Imogen made with her backgrounds!
What will you do with yours? Have fun and post your results on the group page! Until next week for Technique 2! Bye for now.


